
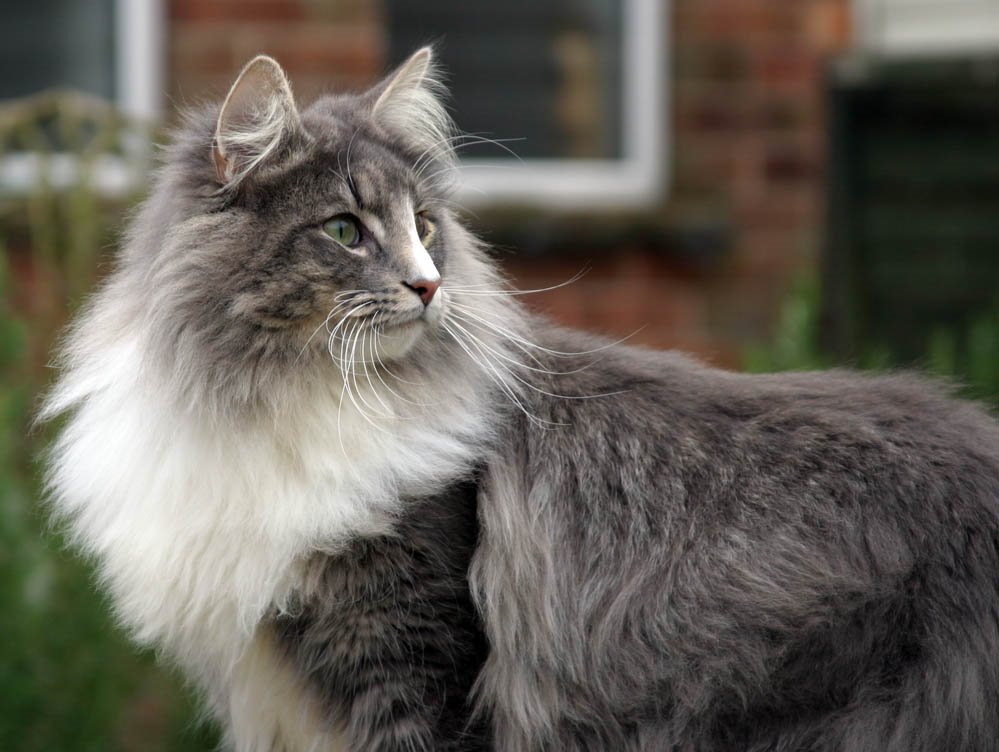
This is how I am working with it to produce a painting of a Ch. Norwegion Forest Cat belonging to our friends John and Caroline Tipper. John and Caroline own and breed the Tiganlea Norwegian Forest Cats and Rough Collies
I am using double matt Polydraw, which means I can work on both sides, a variety of coloured pencils including Polychromos, Lyra, Derwent and Prismacolor and possibly some acrylic.
After selecting the photograph I wanted to use, (out of a couple of hundred I took on my visit) I drew out an outline on rough paper, I then traced this onto the drafting film using a sharp white Polychromos pencil with heavy pressure. One of the advantages of drafting film is that you can erase coloured pencil completely without damaging the surface so the pressure doesn't matter, I simply press on hard so that I can see the lines at a later stage.
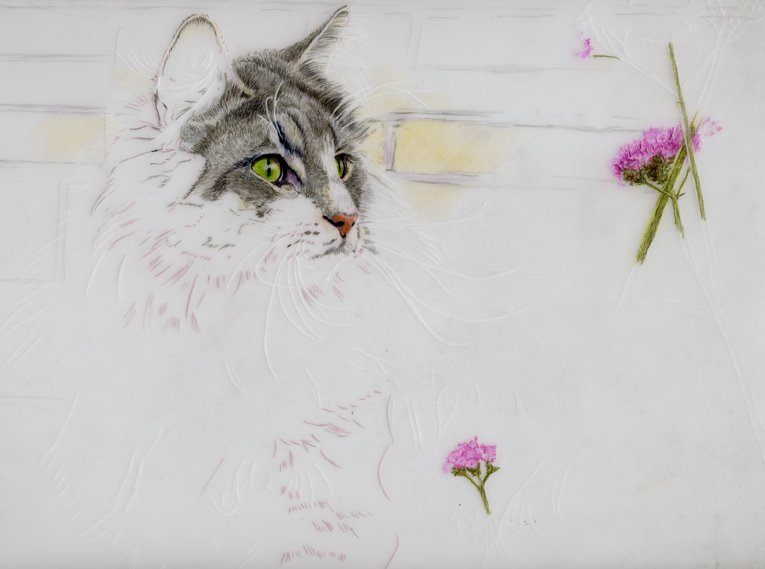
I want to completely change the background to put the cat in a more interesting setting and to give him something to look at, so I am going to introduce a Bee into one of the 'sweet spots' in the painting.
My artist friend Katherine Tyrrell provided me with a wonderful photograph of pink flowers growing against a lovely warm wall. So I am going to take elements of that to complete my background.
The next photographs show the development of the painting.
Because drafting film is semi transparent I put a mid toned piece of mount/matte board behind it while I work so that I can see the colours I'm using clearly.
I have started with the cat's head, really to give me a starting point, and as I've previously mentioned I like to do the eye first, because even at this early stage it brings the painting to life. I also put one flower in to see if the colours worked together.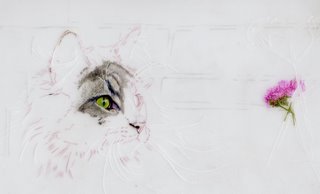
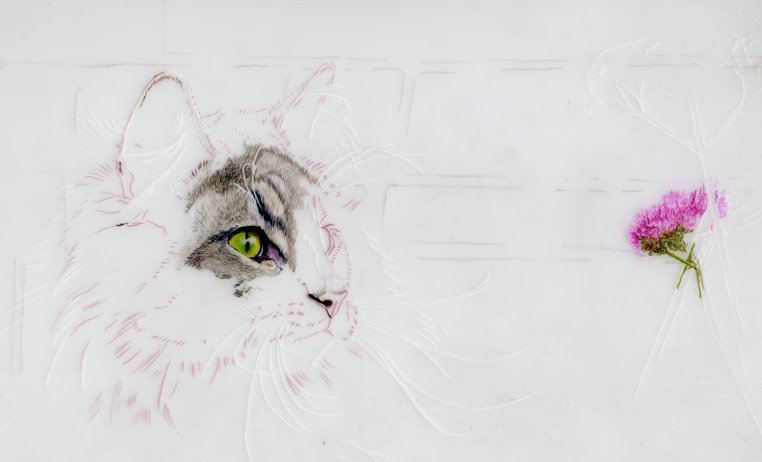
On the next scan, I have started to put the wall in to ensure that the colour, tone etc compliment the cat. For the wall, I am working on the back of the film to start with, which means it gives a softer effect and I can overlap the edges of the fur without damaging my work on the front. I can then adjust or darken on the front of the film at a later stage. I will continue working the painting as a whole now and will scan when there is a little more to see.

cat
cat painting
colored pencil
coloured pencil
drafting film
3 comments:
Your portraits are wonderful. Do you paint them for proud owners and do you have a commercial site?
Hi Cruxley
Thank you very much for your comments.
I do occasional private commissions, anyone interested can email me to discuss their requirements.
and my website is
www.gaylemasonfineart.com
I have enjoyed learning about drafting film, and will try to find some today so I can experiment with laying down colored pencils as you described. Very informative! I will follow this project, and I'll be particularly interested in how you frame/mount the finished piece?Thank you! Your work is exquisite. :)
Post a Comment